2 User Interface Overview
This chapter provides an overview of the main user interface components of the program. Additional details about some of the components are contained in other chapters, but are also linked from this chapter.
2.1 Starting the Program
After you have installed the program, double-click on the SwashSim icon on your desktop or within the ‘Start’ menu. Alternatively, you can navigate to the program installation folder and double-click on ‘SwashSim.exe’ to start the program. This will load the main program window, referred to as the Main Screen hereafter. The Main Screen will initially show the start up panel. This start up panel includes the program version number and options to start a new project or open an existing project.
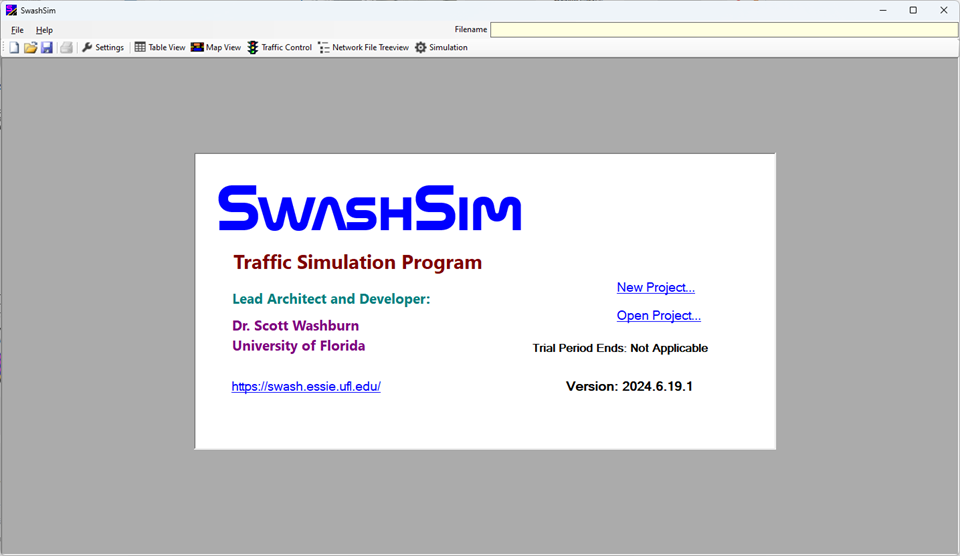
Figure 2.1: Main Screen with Start Up Panel
2.2 Starting a New Project
To start a new project, select ‘New Project’. This can be done from the start up panel or the toolbar or the ‘File’ menu (see screenshots below).

Figure 2.2: New Project Icon on the Main Screen Toolbar
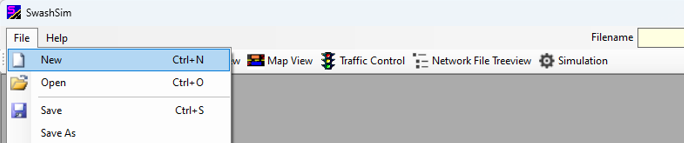
Figure 2.3: New Project Icon in the File Menu
After selecting the New Project option, a dialog with three options is presented:
The quick editor input screens use a table style for data entry. These input screens are suitable for a simple, linear facility, such as a single freeway or two-lane highway facility.
The Custom option allows any type of roadway network to be created. This option must be used for an arterial because intersections along the route consist of intersecting roadways. Facilities created with a quick editor can be converted to a custom type (discussed in the [Settings] section). This will allow the original network to be expanded and/or additional input parameters to be modified that are not available in the quick editor screens.
Select the desired project type, and then click the ‘OK’ button (see screenshot below). Alternatively, you can double-click on a facility type with the left mouse button and the corresponding input screen will be loaded into the Main Screen.
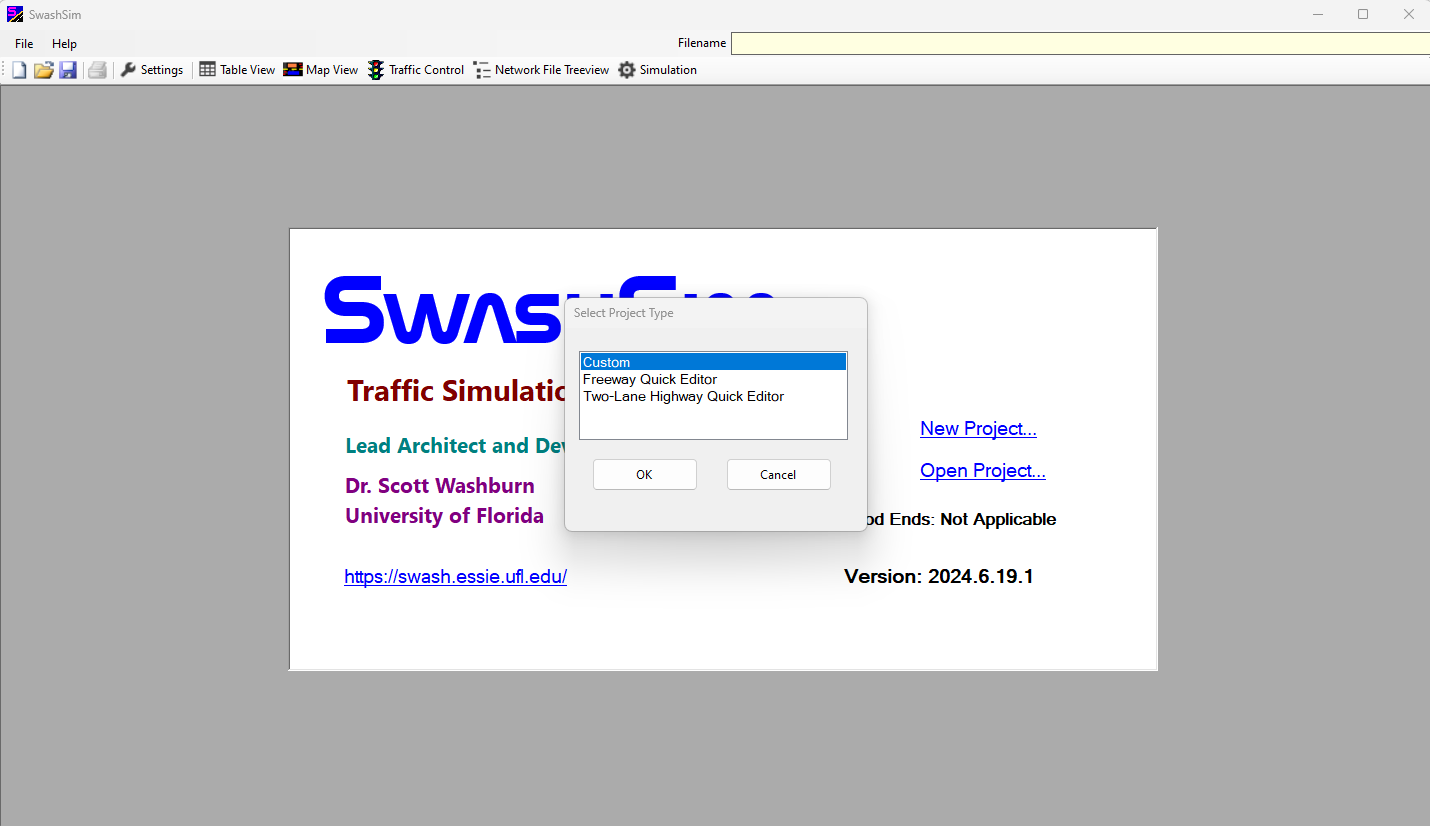
Figure 2.4: New Project Options
2.3 Opening a Project
To open a saved project, select ‘Open Project’. This can be done from the toolbar or the ‘File’ menu (see screenshots below).

Figure 2.5: Open Project Icon on the Main Screen Toolbar

Figure 2.6: Open Project Icon in the File Menu
After selecting ‘Open Project’, you will be presented with a dialog for selecting a project file (*.ssim). Recently used files will be listed in the ‘Select Existing File’ panel and can be opened by just selecting the desired file and then pressing the ‘OK’ button. If the desired file is not shown, press the ‘Browse For File…’ button.
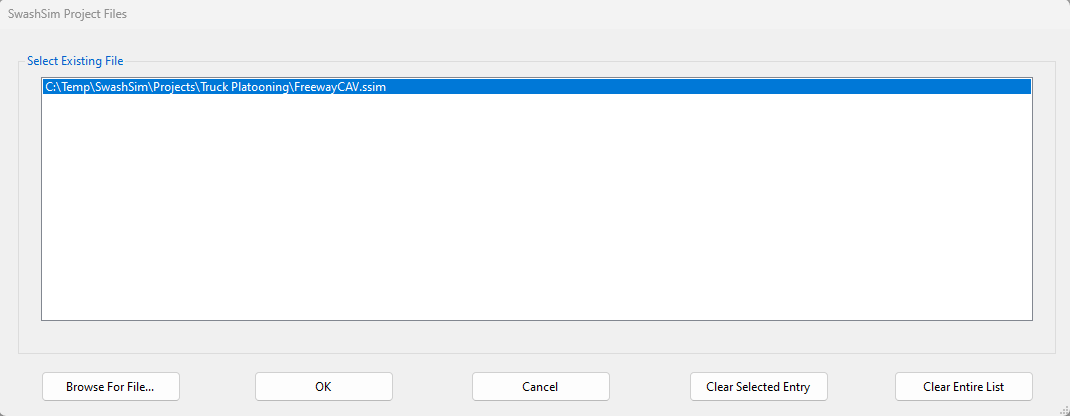
Figure 2.7: Open Project–Recently Used Files Listing
2.4 Saving a Project
To save your project data to a file, select ‘Save’ or ‘Save As’. This can be done from the toolbar or the ‘File’ menu (see screenshots below). The ‘Save As’ option is only available from the ‘File’ menu. If the project has not previously been saved, the ‘Save’ option functions the same as the ‘Save As’ option. Selecting ‘Save’ for a previous saved project will update the currently saved files. If you want to change the name of the project, use the ‘Save As’ option.

Figure 2.8: Save Project Icon on the Main Screen Toolbar
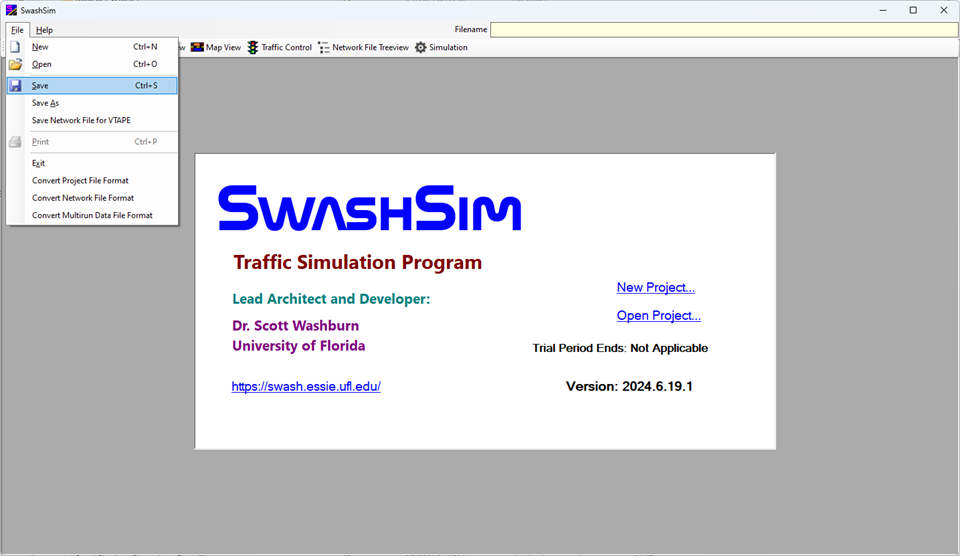
Figure 2.9: Save Project Icon in the File Menu
Every SwashSim project requires the following two files:
- A project data file: This file will have an extension of “ssim” (for SwashSim). It contains all the information from the Settings screen. It also contains the settings from the Simulation Control Panel.
- A network data file: This file will have an extension of “nwf” (for NetworkFile). This file contains the information pertaining to the physical definition of the network (links, nodes, etc.) and traffic data.This file is saved automatically with the latest network settings when the project file is saved.
A SwashSim project may also include the following files:
- A signal data file: This file will have an extension of “xml”. If your project includes one or more signalized intersections, the signal control data for those intersections are specified in the Traffic Control module and are saved in this file.
- A multi-scenario run data file: This file will have an extension of “xml”. You can set up a project to run multiple sets of traffic data inputs for the same roadway network. These data are specified in the Simulation Control Panel and are saved in this file.
All of these files are in an XML format1 (Courage, Washburn, and Kim 2002), regardless of the filename extension. XML files can be viewed and directly modified in a text editing program. Unless you are very experienced user of the SwashSim program, it is strongly discouraged to modify the contents of these files outside of the SwashSim program.
The computer folder location of all project supporting files are stored within the project data file (*.ssim)
The name of the saved project file will be displayed in the upper-right corner of the Main Screen (see screenshot below). If the full filename is not visible in the textbox, you can click in this box with your mouse and navigate to the right with the keyboard ‘right arrow’ key or ‘End’ key. The default file extension is “.ssim”.
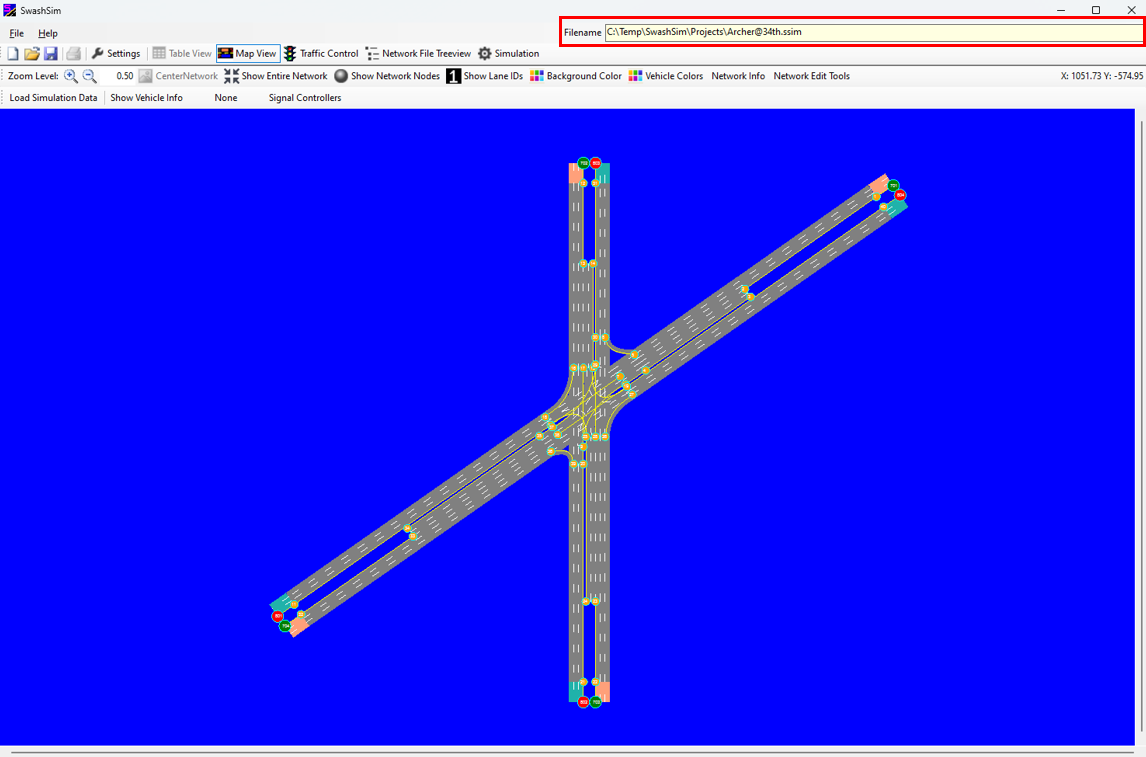
Figure 2.10: Filename Location for Saved Project
Information about setting or changing the folder location of these files is in the Settings -> Project Properties section.
Note that every time you save your project, a backup copy of the *.nwf file will be saved (same filename but with ’_Copy#’ appended to the end. ‘#’ will be the copy number, with higher numbers being a more recent copy). If something should happen to go wrong with one of your project saves and your NWF file gets corrupted, you can use your most recent backup copy to avoid starting from scratch–just remove ’_Copy#’ from the filename.
2.5 Screens/Modules
Once a new project has been started, or an existing one opened, you will generally work with the following screens/modules:
- Settings
- Table View
- Freeway (Quick Editor only)
- Two-Lane Highway (Quick Editor only)
- Custom
- [Traffic Control]
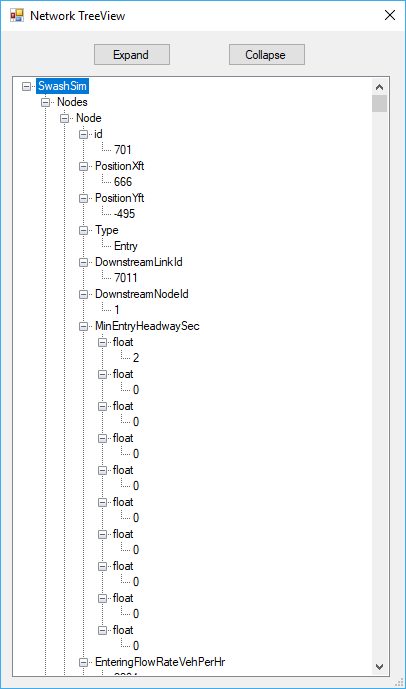
- Network File Treeview
- Simulation Control Panel
These modules are accessed with the buttons on the Main Screen toolbar.

Figure 2.11: Toolbar Settings Button
Each of these modules is detailed in later chapters of the User Guide, but are also linked from the list above.